WebRTC 源码编译
请确保你能够访问google等外网环境
常用网站
Windows 平台编译
工具链
- VS2019, 可以选择免费的社区版
- Desktop development with c++组件使用10.0.18362或以上版本
- 安装调试工具Debugging Tools for Windows
- depot_tools,用于管理WebRTC代码仓库
git clone https://chromium.googlesource.com/chromium/tools/depot_tools.git- 将上述
depot_tools目录添加到系统环境变量里面,后面步骤会使用该目录下的脚本 - 添加一个名为
DEPOT_TOOLS_WIN_TOOLCHAIN的环境变量,值为0,提示depot_tools使用本机的VS进行编译 - 在cmd窗口运行
gclient,会自动下载git和python等依赖
拉取代码仓库
mkdir -p c:\workspace\webrtc
cd c:\workspace\webrtc

fetch --nohooks webrtc
gclient sync
代码仓库比较大,该过程比较耗时
编译
指定编译环境:
set DEPOT_TOOLS_WIN_TOOLCHAIN=0
set GYP_MSVS_VERSION=2019
set vs2019_install=C:\Program Files (x86)\Microsoft Visual Studio\2019\Enterprise
set GYP_MSVS_OVERRIDE_PATH=C:\Program Files (x86)\Microsoft Visual Studio\2019\Enterprise
set GYP_GENERATORS=msvs-ninja,ninja
生成工程文件:
cd c:\workspace\webrtc\src
gn gen --ide=vs out/Default2019
# gn gen out/vs2019_x64_debug  --ide=vs --args="target_cpu=x64  is_debug=true"
生成的工程文件(.sln)可以用VS2019打开:
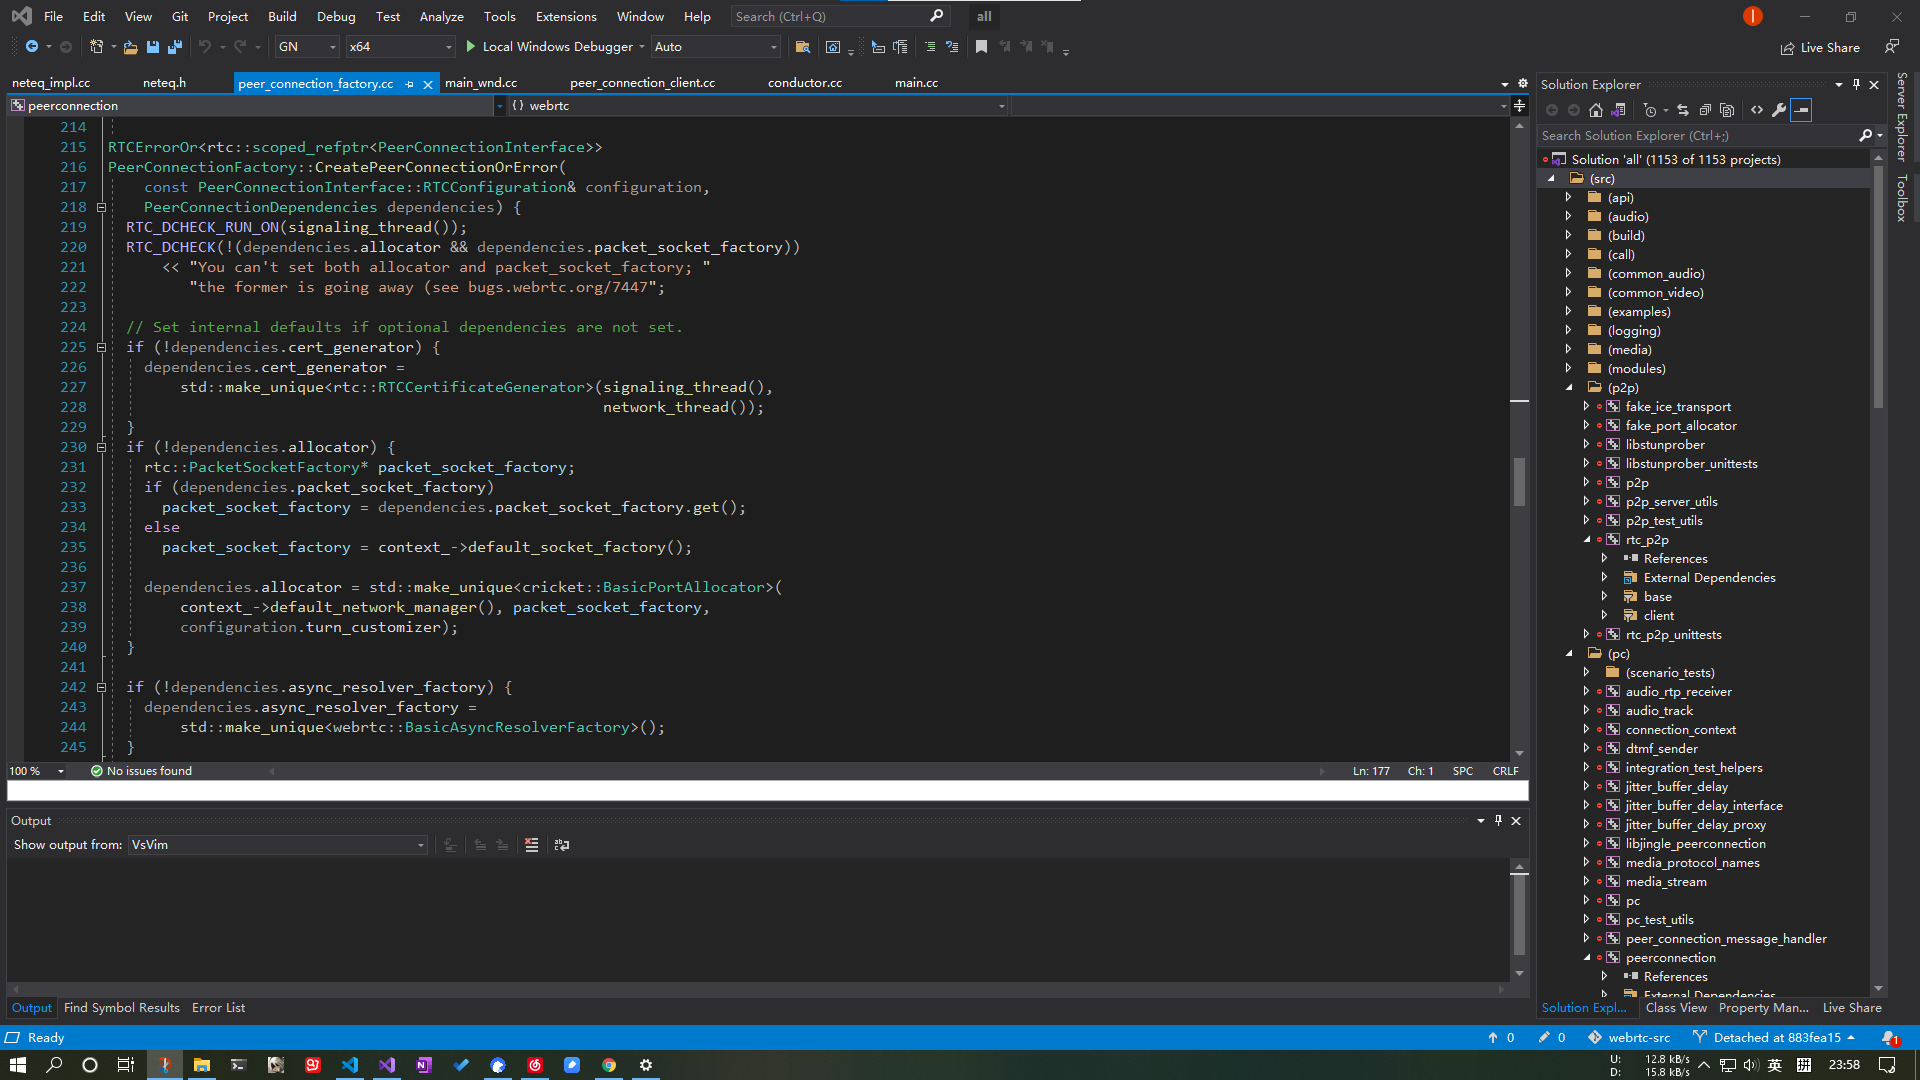
编译:
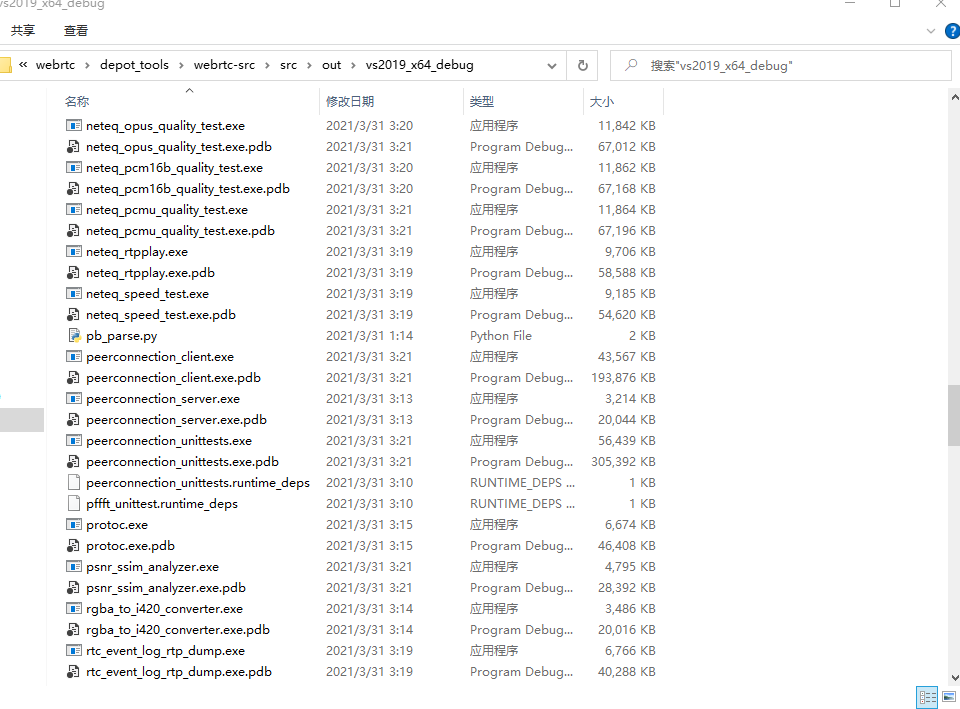
ninja -C out/Default2019
编译完成后,会在目录out/Default2019下生成exe文件:
demo运行
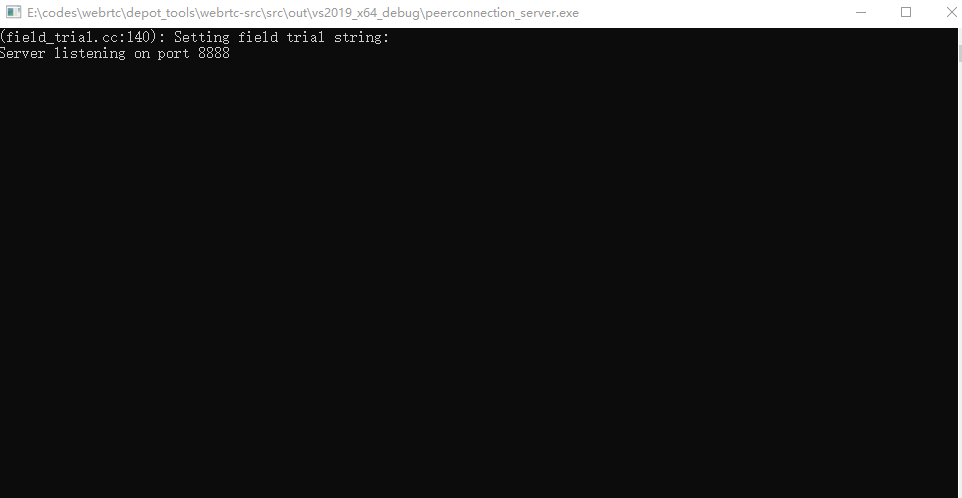
编译完成后会生成peerconnection demo,该demo可以实现双向音视频通话
首先运行peerconnection_server.exe,该程序作为一个信令服务器,用来同步所有客户端的状态:
然后运行一个web客户端实例src/examples/peerconnection/server/server_test.html和一个windows客户端实例peerconnection_client.exe,并连接上peerconnection_server,windows客户端能看到web端的实例,选中web端后输入回车便可以和web端进行实时音视频通话:
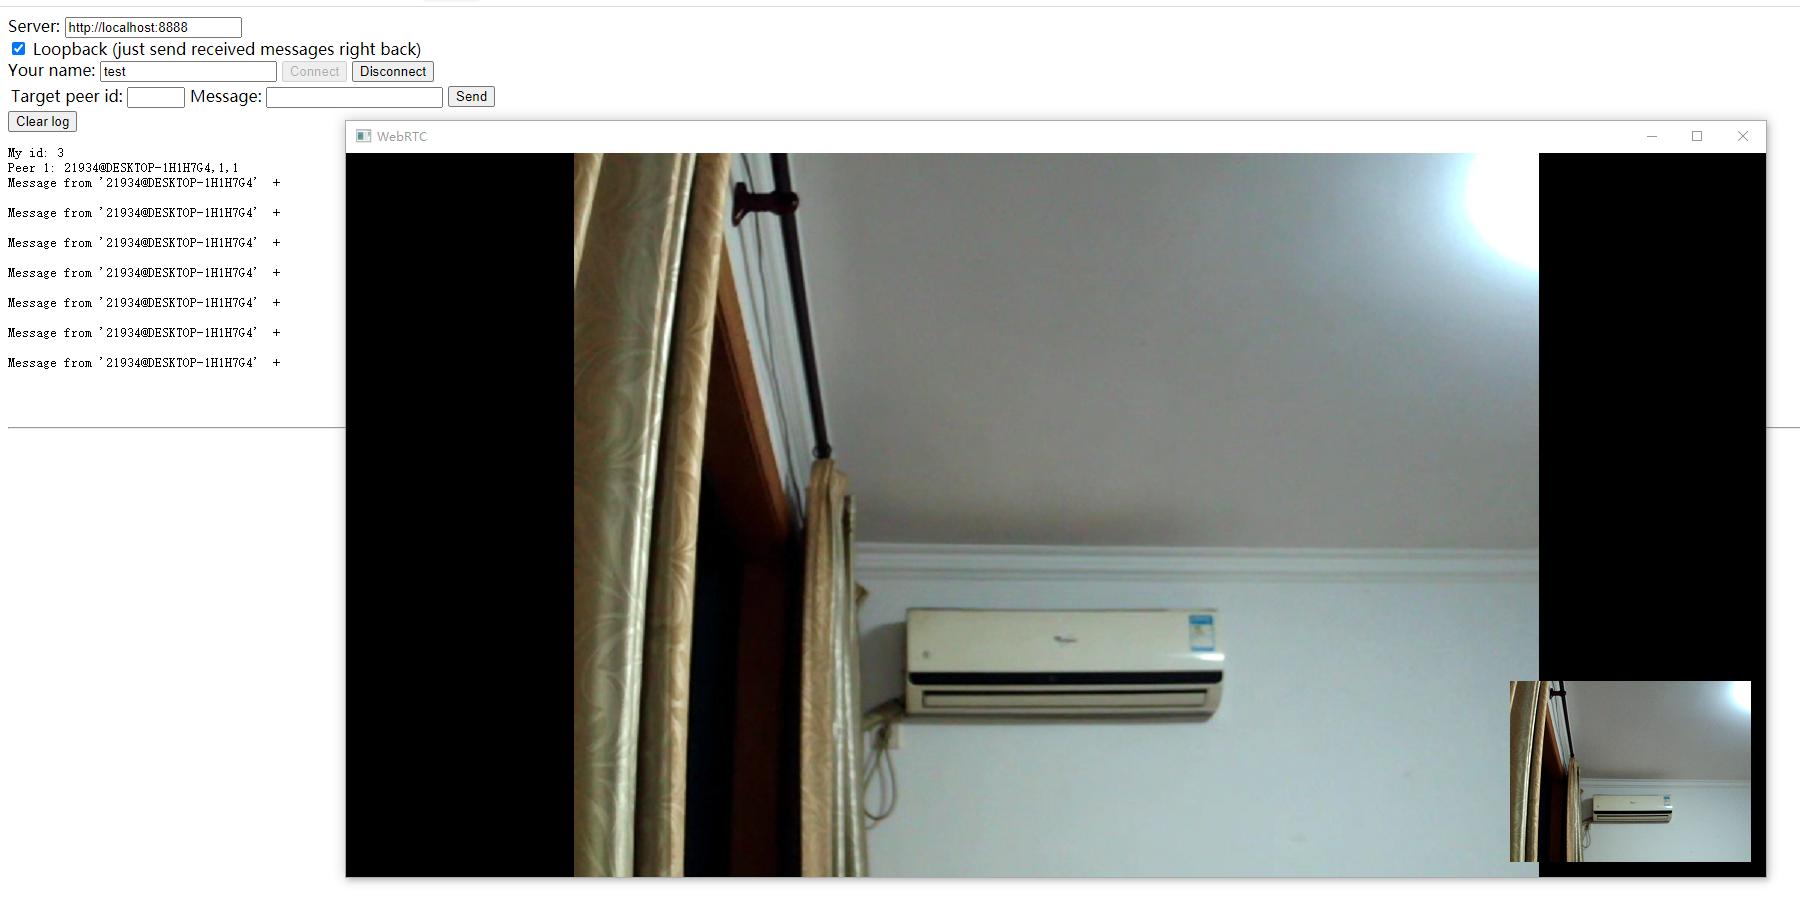
到此,你已经成功编译webrtc代码并运行demo,接下来便可进入源码的学习了。
参考文档
- https://blog.csdn.net/Dreamandpassion/article/details/108271894
- https://webrtc.googlesource.com/src/+/refs/heads/master/docs/native-code/development/prerequisite-sw/index.md
- https://webrtc.googlesource.com/src/+/refs/heads/master/docs/native-code/development/index.md